For 2015, I set myself the goal of completing one craft project per month. January’s project was a full-length reversible apron for a friend – a belated Christmas gift.

[True disclosure: I finished the apron on January 30, but wasn’t able to post about it before the end of the month because I was away for the weekend and then WordPress ate the first several drafts of this post].
I’ve made a couple of half aprons in the past, including a reversible one for my mother a couple of years ago.

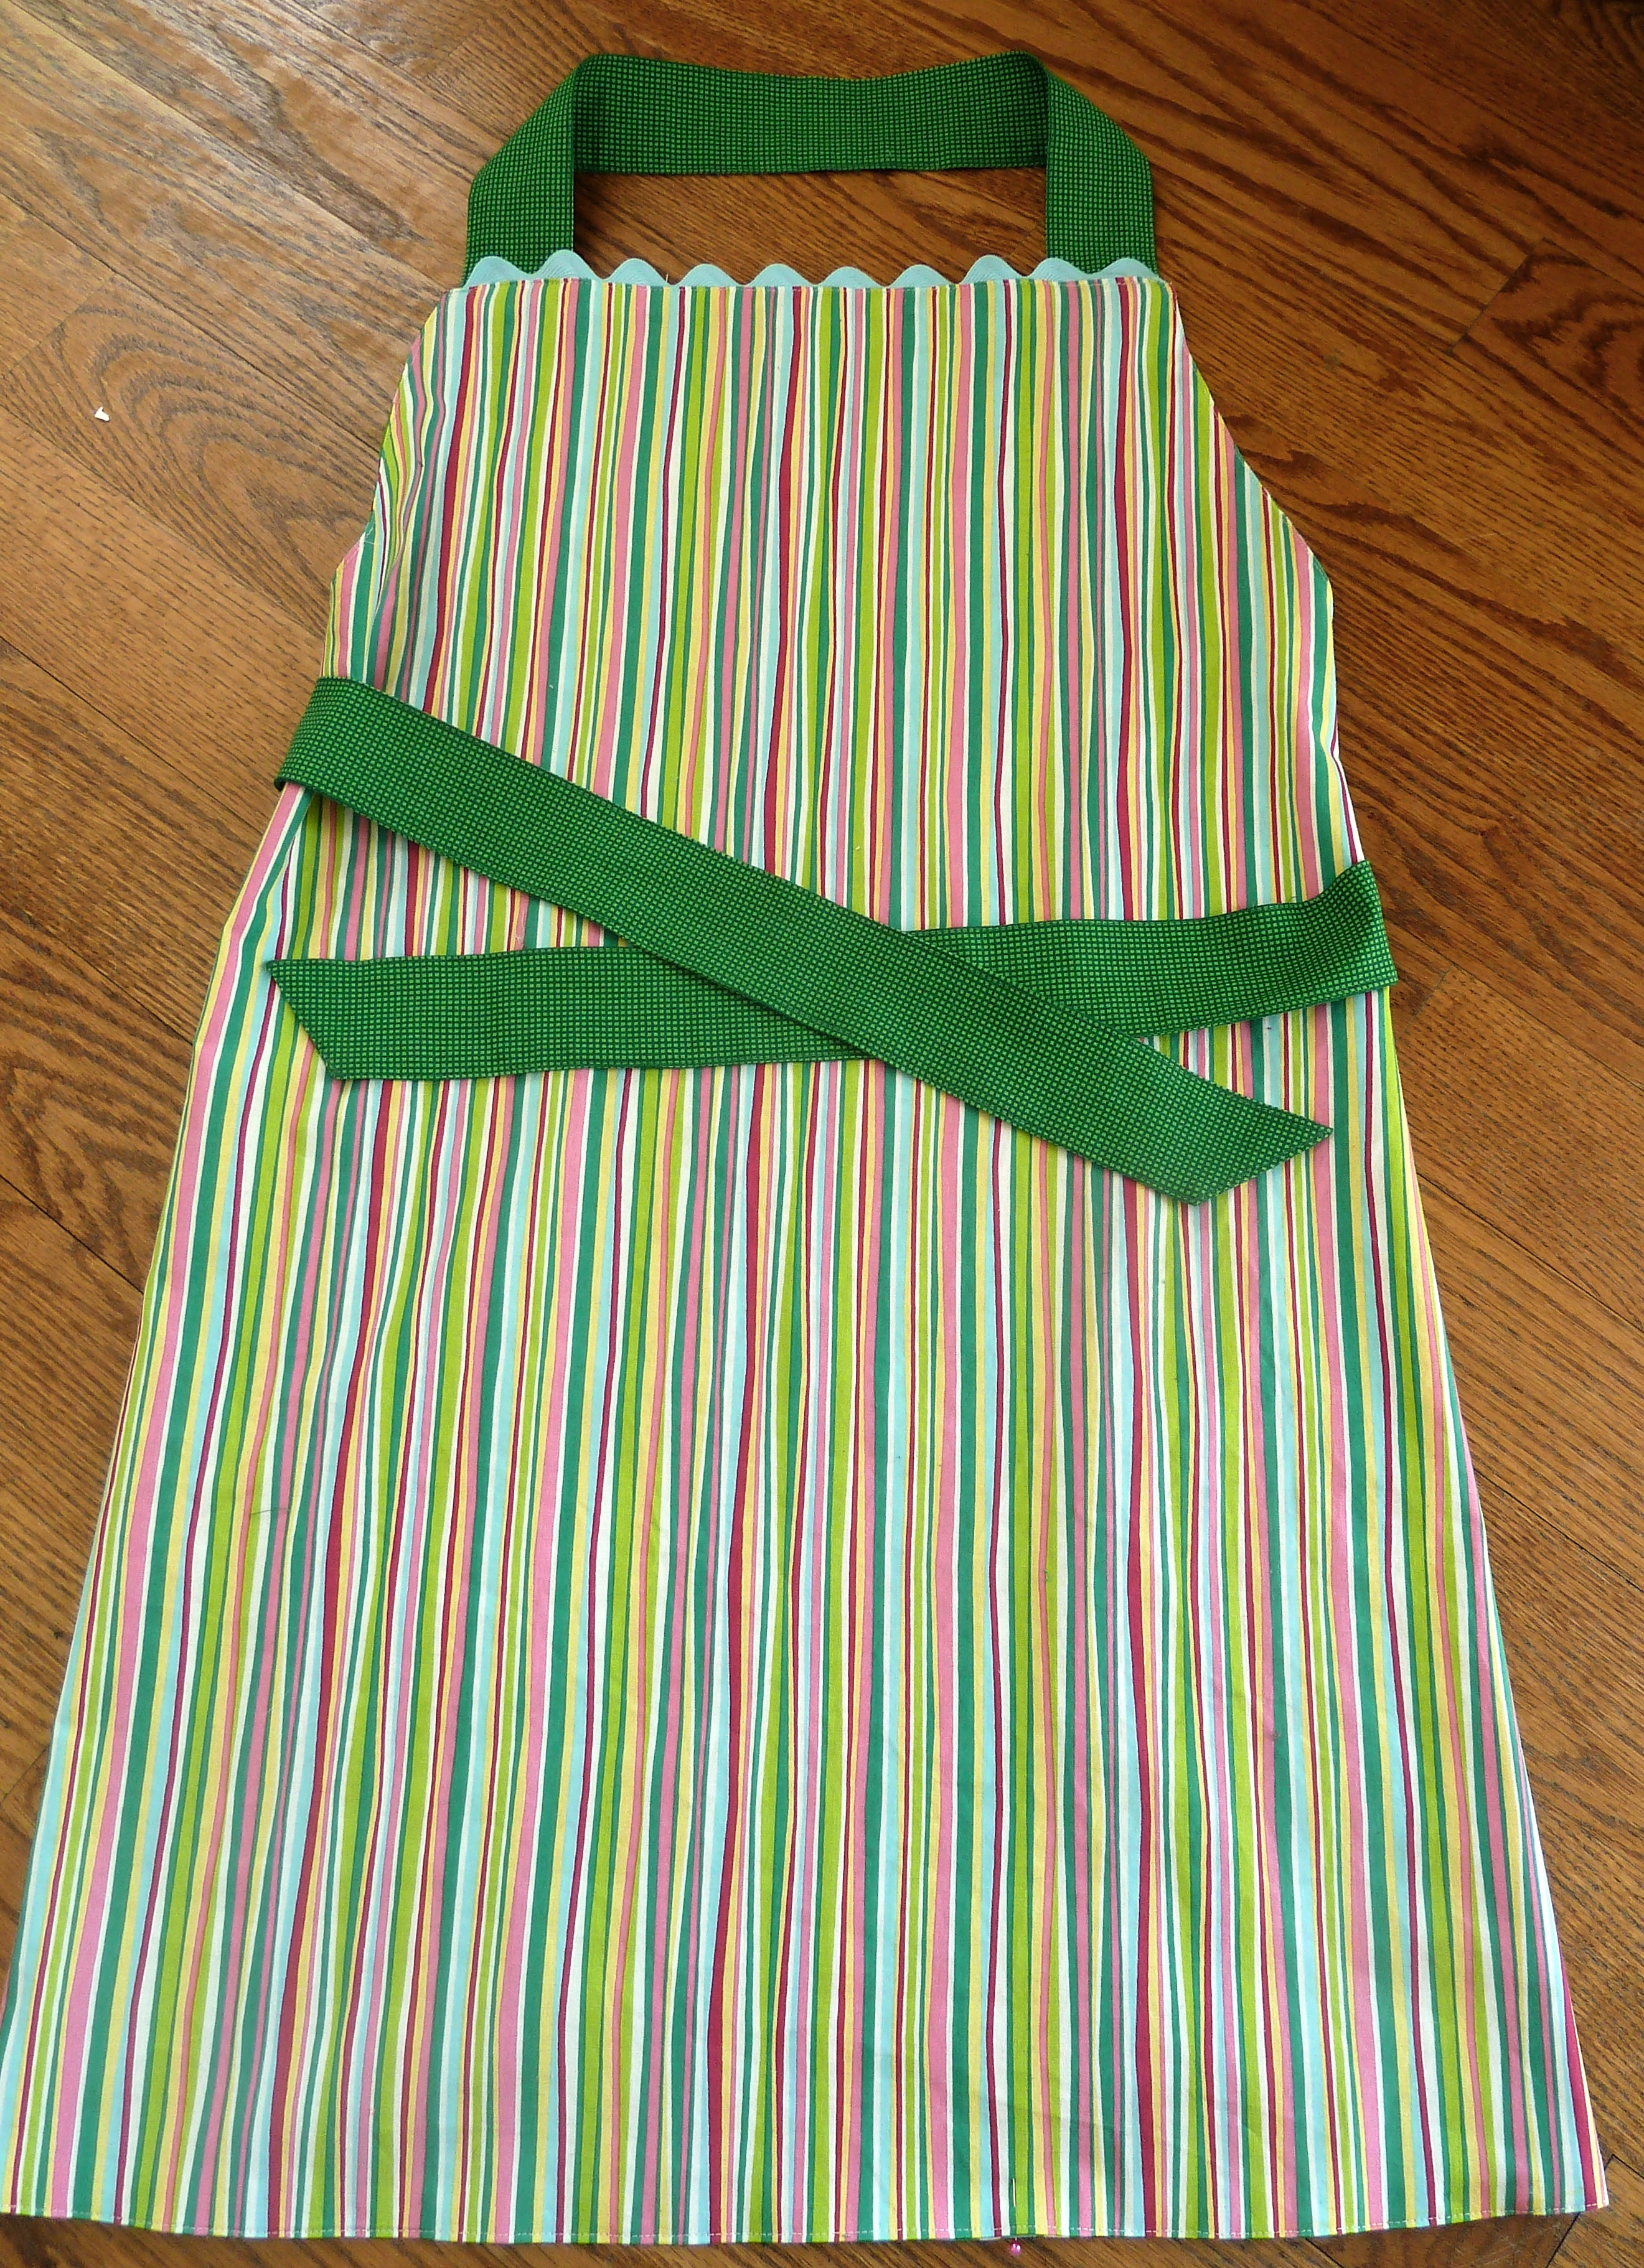
However, this was my first time making a full-length one. For the apron itself, I used fabric from my stash, including a red and green holiday print that I bought at a flea market. I love Christmas aprons, but their really only wearable for about a month evry year. Although the fabric isn’t overly christmasy, I wanted my friend to be able to wear her apron any time of the year, so I chose an abstract stripe in bright colours for the other side. I used a contrasting green with tiny white squares for the neck and waist ties that I found at my local fabric store.

I couldn’t find any apron tutorials online to fit my friend, so I drafted my own pattern based on the one of my own aprons, using XL women’s measurements I found on a website: chest = 43 1/2 inches; waist = 35 inches; and hips = 45 1/2 inches.

I used newspaper to make the pattern, as it was all I had on hand. I wasn’t worried about the newsprint leaving marks on the fabric, since both pieces were brightly coloured with lots of pattern. I probably wouldn’t use a newsprint pattern on light fabric, but it worked just fine for my purposes. When I was finished with the pattern, I just tossed it into the paper recycling bin – extra points for being environmentally friendly.

For the ties, I cut out 2 pieces 32 x 4 inches for the waist and one 22 x 4 inches for the neck piece. I was guessing about the length of the ties. The final measurement is about 17 inches, so I ended up cutting an inch or off both ends of the neck piece – 20 inches would have been plenty long enough. I angled the ends of the waist ties, following the “Big Bow and Sash Sewing Tutorial” on The Mother Huddle. Rather than eyeballing the angle, I measured it out with a ruler and marked it with tailor’s chalk, which made cutting a crisp angle a snap.

Since the main fabrics for the apron were fairly busy, I decided to keep the decorative elements to a minimum. I came across a tutorial from Sew4Home for the citrus holiday hostess apron, that used jumbo rick rack, inserted into the top seam of the apron. I found some pale blue jumbo rick rack at my local fabric store that matched the blue in both main fabrics. The instructions in the tutorial are quite clear about how to put the rick rack in the seam and how to position the neck ties behind the rick rack. Except there’s no explanation of how to position the rick rack correctly so it doesn’t bunch up when you sew up the side seams.

I’ve come to the conclusion that there must be some sort of secret rick rack club – none of the other tutorials or resources I consulted provided any directions on how to correctly line up the rick rack so it lies flat in the seam (even my go-to apron resource, A is for Apron only explained how to insert the rick rack into the top of a pocket). I ended up ripping out the rick rack out of the apron 2 times and making 2 samples before I figured it out. I had to make an emergency trip to the fabric store one Sunday morning to buy more rick rack. Even on my third try, I still had to adjust my seam allowance so the stitching caught the rick rack at the right point. Very happy with the final result.

If this hadn’t been my January project, this is probably the point where I would have tossed the whole thing aside and stuffed it into the recesses of my sewing basket. Once I had conquered the rick rack, I added a red button on the Christmas side, right below the ties, for a bit more visual interest.


I’m not going to lie – rick rack crisis aside, there more than I few moments when I could have cheerfully walked away from the sewing machine and not looked back. A more experienced sewer could have knocked off this project in weekend (or less). It took me several evenings and a good chunk of two weekends to complete the entire project. However, I learned a few important lessons that will hold me in good stead for future projects.
Firstly, tailor’s chalk is my new favourite sewing tool. It allowed me to make much more precise markings than straight pins. After I cut the two main pieces out, I folded them in half together and traced the necessary adjustments directly onto the fabric with the chalk. It rubs off, so making corrections was easy. Tailor’s chalk doesn’t leave any residue on your hands. I was using yellow chalk and it didn’t leave any marks on my fabric.
Secondly, not all online tutorials show you every step of the project. I appreciate that people take the time to post tutorials online and find them incredibly useful. However, in my experience, sewing tutorials often assume the reader has some sewing experience and can fill in the blanks. If you’re a beginner like me, this can create some frustrating moments – when you discover that your seams look wonky because you haven’t pressed them flat or your corners are round instead of square because you didn’t mitre them. I’m still going to keep checking out online tutorials but I’m going to read them very carefully before I start a project. And then re-read them. FYI – I’m working on a step-by-step tutorial on decorating a seam with rick rack.
Finally, my January project underscored the old adage, “practice makes perfect.” The top-stitching on the apron ties is a little crooked. I pulled out the worst sections with my handy seam ripper, but decided not to drive myself crazy trying to sew it in a perfectly straight line. For one thing, the fabric and the thread are almost the same colour and for another thing, you can’t see the top-stitching when the ties are done up. I top-stitched around the entire apron and to my surprise, my stitching was much straighter and more consistent. It was nice to see a noticeable improvement in a short period of time.
So that’s it for January. One project down, 11 to go. Haven’t decided on the February project yet – it’s a short month, so I better get busy.
Special thanks to M for taking time from playing MindCraft to take photos of me modelling both sides of the apron.


 I’m thinking it would look cute in this pink polka-dot fabric I picked up on sale recently.


